
My Pictures Are Worth A Thousand Words…


995 words, close enough.
Good photography is paramount to an Interior Design business, it is the only way we can share our work once the doors close on the project, Instagram remains a nexus for promotion, and the ultimate dream is of course, publication. In these early days of my career, however, I find it hard to justify the expense of professional photography, there are many projects that while beautiful and unique they don’t fit the criteria for a full-scale photoshoot, and I need curated content throughout the progress phases, not just upon completion of the project. I asked my incredibly talented South Carolina based wedding Photographer, Nicole Moore, for some guidance to help create soft and romantic photos. She helped me find a lens that has elevated my portfolio, created a cohesive aesthetic to all of my work, and multiplied my content creation. I’ve added a bit of my own tips here so you too can capture your work in its best light!
Lens: Nicole taught me that it’s more about the lens than it is the camera, but worth noting I am doing all of my work on a Nikon D3300. She recommended a lens that allows me to photograph at f2.0 or less. Most camera companies have somewhat affordable f1.8 lenses, and if you find you’re enjoying that and want to continue to lean in, you can invest in a f1.2, which is what most professionals are using. I started with a AF-S DX NIKKOR 35mm f/1.8G lens and I bought it refurbished for $179.95. If you paste those lens specifications into google, you’ll find a plethora of refurbished options— currently, I even see one lens on Amazon for $140 and I also see the option to purchase the D3300 camera with the F/1.8G lens included listed on Amazon together for $498.
My love for this lens is limitless. It creates such a dreamy aesthetic even with minimal light and the 35mm is perfect for capturing the close-up compositions that really capture the magic and soul of the space. Many times one corner of a room is finished while the other walls linger in lead-time limbo, but this allows me to share a small scene as a teaser and keep the content flowing. Worth noting, this lens does not zoom, so you are limited to that close-up framework, and while I can typically capture the entire scene I require, there were several situations where the room layout did not allow me to back-up enough to capture the floor-to-ceiling photo (particularly troublesome when I wanted to capture a design on the fifth wall!). For these circumstances, I purchased a AF-S 24mm f/1.8G ED N Lens pre-owned for $385. The 24mm focal length allows me to capture the entirety of the room and it still gives me that soft and light-filled aesthetic.
Photos On-The-Go: This is the game-changer for real-time curated content, and it’s less than $10. No need to return to a computer desktop to download your work and edit it, instead simply pop this SD card reader into your iPhone to download your photos directly from your camera SD card to your photo album while onsite at your project. These lenses create such high-quality photography that rarely do my photos require intensive editing, and more often than not the Instagram edits are sufficient for any lighting or contrast touch-ups. If I need an object removed, such as an unsightly heating vent, electrical outlet, thermostat, or alarm code pad, I use a basic editing editing app such as Facetune to “vanish” an object. Do yourself a favor when you are doing your styling preparations for your photos and hide all lighting or appliance electrical cords before you start shooting to save the editing hassle—you don’t want any unsightly distractions pulling the eye from your work!
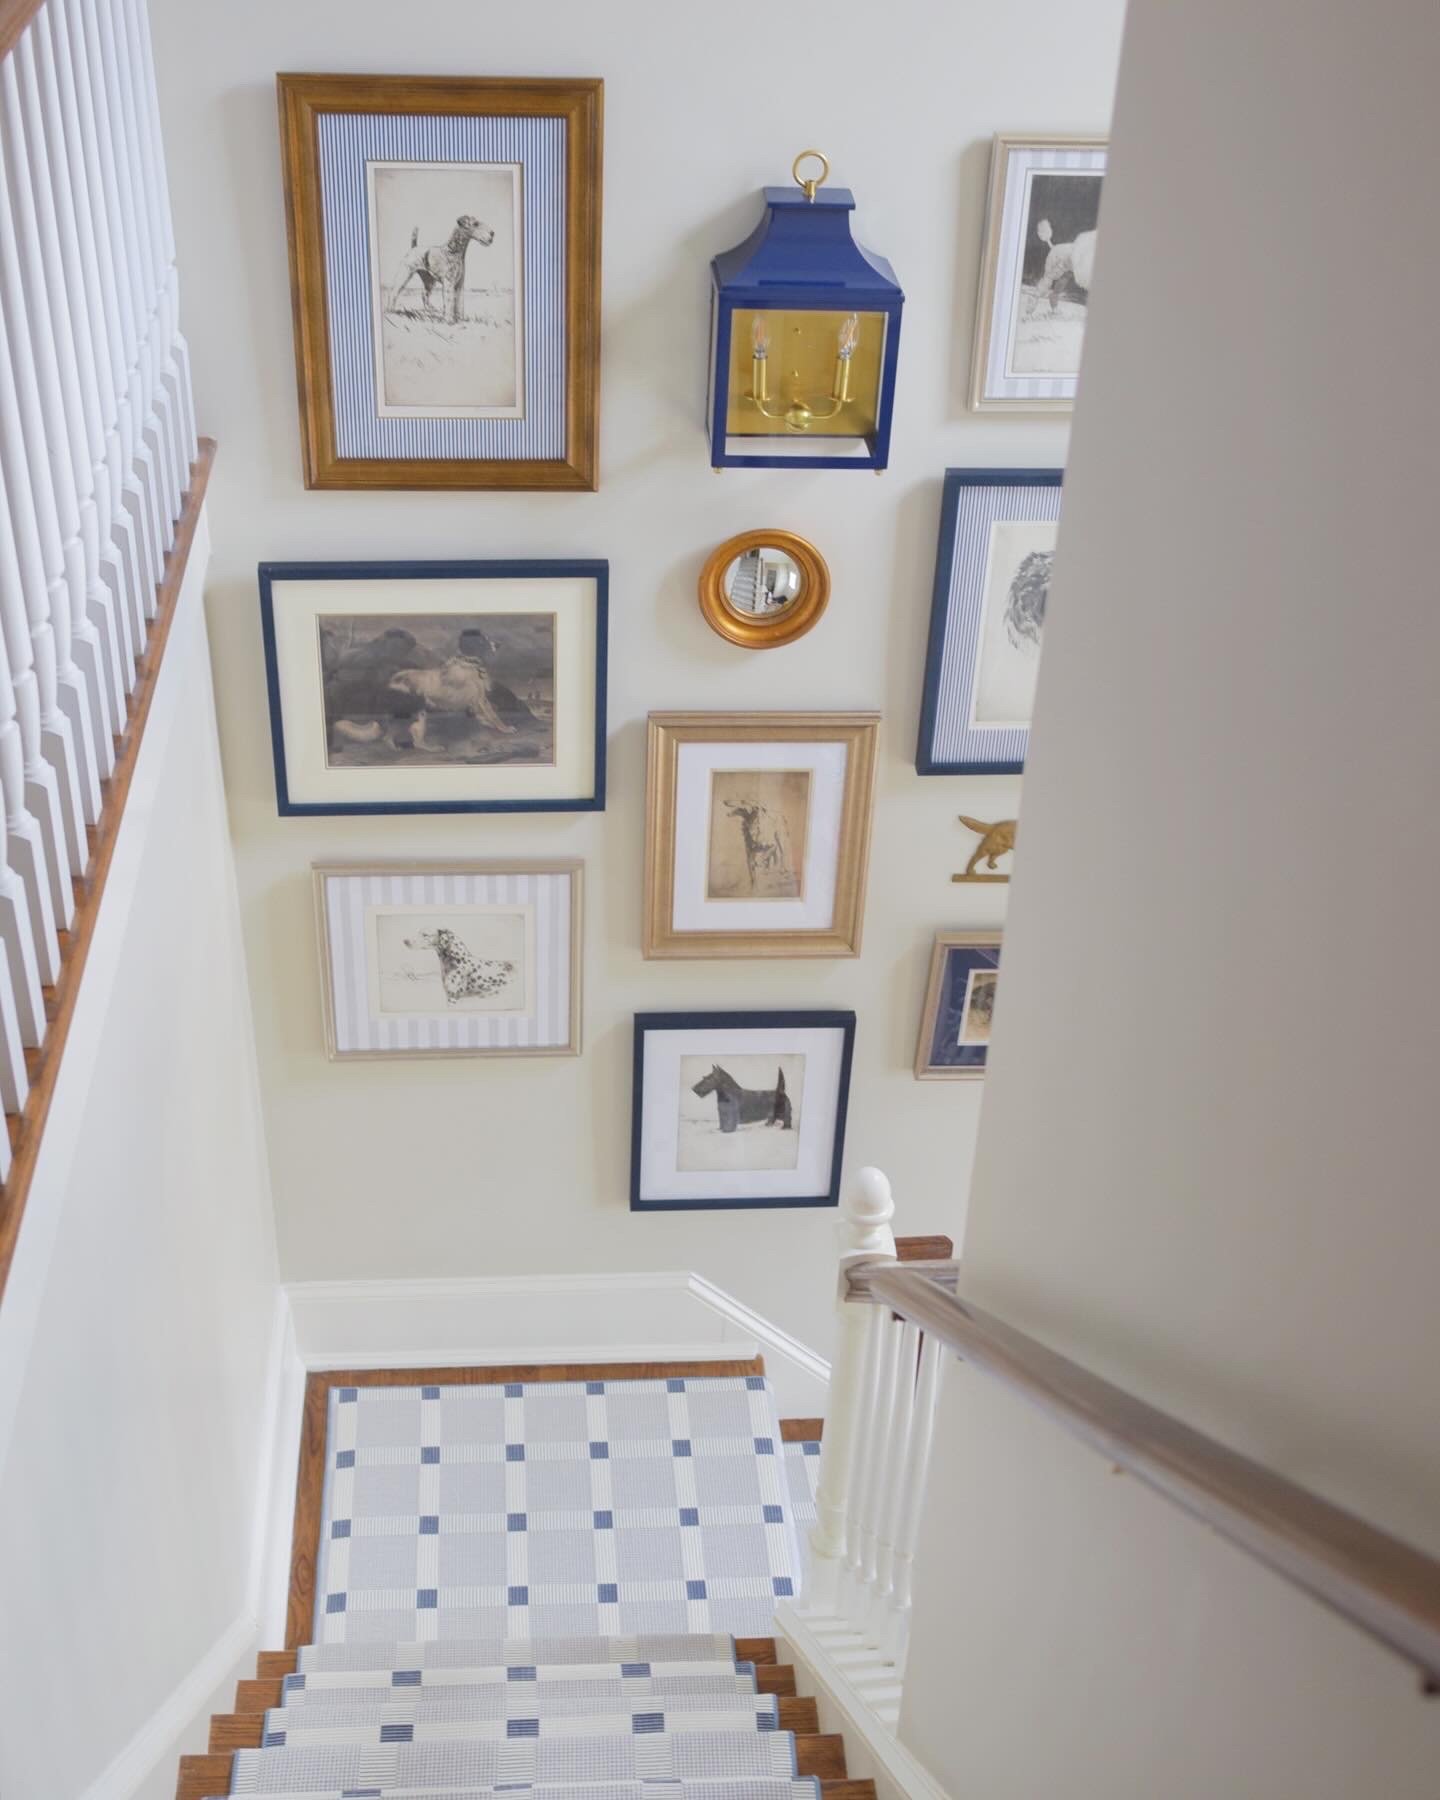
Don’t Forget to Frame Your Frames: Always take your photos with a vertical orientation, not only does this make a ceiling feel higher, but it’s also a better size fit for uploading photos onto instagram (horizontal photos will get cropped out). Proper framing is crucial too, it’s almost the equivalent to that feeling when furniture or art isn’t scaled exactly right to a room, you’ll have a sense that something isn’t quite right, but perhaps can’t quite put your finger on it immediately— it likely means you cropped something out that the eye needs to see. Unless you’re doing a close-up shot, make sure you capture the entire length of the furniture legs as well as the full length of the art frames on the wall. All too often you’ll see amateur photography that cuts a chair leg off right before it hits the carpet or crops the art on the wall in half!
Paris & Portrait: The combination of these lenses with the “Paris” filter on Instagram is beautiful— is Paris ever not the answer? I also take the majority of my photos in the “portrait” mode of the D3300 and never use the flash (even if I have to force hold it down).
I hope the intention of this post is clear— I am by no means arguing that any of these amateur photography tips are a substitute for a professional photographer and editing. Rather, let’s call this a ‘fake it until the pros can take it’ solution! These lenses and editing hacks are simply a great way to capture your work throughout the process of the project or when the budget or project doesn’t warrant professional photography. I am a mere hobbyist photographer and greatly admire and follow many talented Interior Photographers and aspire to one day work with many of them— perhaps a spread in AD or LUXE? I’m ready when they are!
A very special thank you to Nicole Moore for teaching me a bit about her craft and also to Louise Roe for giving me the idea and courage to put these tips and thoughts into a blog.
Cheers,
Maggie